
There is nothing worse than getting a panicked call from a client telling you their WordPress site has been hacked.
They are running a wholesome business and now their customers are seeing links to Viagra or Cialis on every page. Every second that slips by they are in danger of losing customers — you need to get them back up and running with the quickness.
WordPress powers more than 25% of websites on the internet and unfortunately that makes it a prime target for hackers. Automattic, the company behind WordPress, does a great job with security updates to stay ahead of these threats.
The downside is that many of those updates rely on plugin manufacturers (and you) to keep things up to date. But despite your best efforts it’s still possible for a hacker to compromise your site. Here are the steps you need to take to fix your hacked WordPress instance and get things back up and running.
Step 1: How was my WordPress site hacked?
If you’re a casual web developer this task may seem beyond you at first. But taking a moment to assess the situation could save you a lot of time in the long run. To start, take notes on what’s affected.
- Are strange advertisers injecting links into your pages?
- Is the hack consistent on every page or does it appear randomly throughout the site?
- When was the last time your site looked the way it should?
- Can you login to your WordPress admin dashboard?
- Is Google showing a security warning when you try to view the website?
- Do you have any pending WordPress updates that you haven’t installed?
- What plugins are active and do any of them have any available updates?
- When you view the source of your pages, are there any javascript calls present that you didn’t add?
Now that you know where the problem is occurring, you have the information you need to start resolving the issue.
Step 2: Contact your hosting provider
Armed with the information from Step 1 you can now contact your hosting provider to get some help. Reliable hosts (we use Digital Ocean) will be happy to look into the issues for you and help you determine how a hacker compromised your site. If you’re on a shared hosting server it’s possible an attacker accessed your site via another website. Notifying them as soon as possible can help them address the issue in a timely fashion.
The majority of hacked WordPress sites I’ve seen are managed by rinky-dink hosting providers. Choose wisely.
In those situations their technical support people might not be much help. If you find that’s the case with your host, now is the perfect time to switch to a more reputable provider. You’ll already be jumping through a bunch of hoops anyways, so adding a hosting change to the mix won’t add too much more to your plate. It will also give you some confidence that all the fixes you’re about to put in place won’t need repeated in the future.
Step 3: Backup your database
Now you might be thinking, “Why would I want to backup a hacked version of my WordPress site?”. If you’re lucky you’ll be able to edit your database to clean out the hacked content. If you’re unlucky, you might find yourself restoring a clean backup or doing a fresh install of WordPress.
In either case you may need to reference your hacked site to to figure out what content you need to port over. Better to have a hacked version of that information handy than having to rebuild it all from memory.
Step 4: Restore from backup (skip this if you don’t have one)
If you backup your WordPress site on a regular basis, you’re already ahead of the curve! All you have to do is restore from a previous clean version of your website and you’re ready to rock.
Sure it might mean you have to re-do a few things on your site that have changed since the last backup—but that’s far easier than rebuilding everything. Even if you’re able to restore from a clean backup it’s a good idea to at least proceed through Step 7 of this article. This will make sure you’ve locked things down as much as possible going forward.
Chances are though if you’ve found this article, you don’t have a backup and you’re trying to avoid starting over from scratch. If that’s the case, keep reading.
Step 5: Reset your passwords
Regardless if your hosting provider is worth a damn or not, you have to assume that none of your passwords are safe anymore. If you start making edits to your site before updating your passwords, you could be re-hacked before you’re finished.
First start by resetting your hosting control panel password. After that, reset your MySQL root password (if you have one), followed by all your database user passwords.
You’ll also want to reset any FTP passwords you havein case those were compromised as well. Some people go as far as changing their database names entirely to be extra secure, but updating the passwords should cover you.
With all these changes, be sure to use a strong password. And for heaven’s sake, do not use the same password for any of them. There are plenty of random password generators you can find online that you can take advantage of.
Strong passwords are hard to remember so find a secure place to store them for your records. I use 1Password, which not only securely stores all my login creds, but also has a random password generator built in.
Step 6: Edit your wp-config.php file
Since you’ve changed passwords, you need to tell WordPress how to access the database again. You do this by updating your [php]wp-config.php[/php] file with the new information you created in Step 5.
[php]
// ** MySQL settings – You can get this info from your web host ** //
/** The name of the database for WordPress */
define(‘DB_NAME’, ‘YOUR_DATABASE_NAME’);
/** MySQL database username */
define(‘DB_USER’, ‘YOUR_DATABASE_USERNAME’);
/** MySQL database password */
define(‘DB_PASSWORD’, ‘YOUR_DATABASE_PASSWORD’);
You can actually go one step further in securing your site by generating a new set of WordPress Security keys. These keys help WordPress make your password and information stored in cookies more secure.
define(‘AUTH_KEY’, ‘PASSPHRASE’);
define(‘SECURE_AUTH_KEY’, ‘PASSPHRASE’);
define(‘LOGGED_IN_KEY’, ‘PASSPHRASE’);
define(‘NONCE_KEY’, ‘PASSPHRASE’);
define(‘AUTH_SALT’, ‘PASSPHRASE’);
define(‘SECURE_AUTH_SALT’, ‘PASSPHRASE’);
define(‘LOGGED_IN_SALT’, ‘PASSPHRASE’);
define(‘NONCE_SALT’, ‘PASSPHRASE’);
[/php]
WordPress offers a security key generator via their API that will generate a new set of keys each time you visit that URL. Simply click on that link and copy and paste each key into your [php]wp-config.php[/php] file and you’ll be good to go.
Step 7: Clean up users and permissions
Now that you can access WordPress again, it’s time to do some more resetting and clean up. In your WordPress Dashboard click on [html]Users[/html] in the left sidebar to view all your WordPress users. A lot of times once hackers have gained access, they’ll create a new administrator user to gain control over your WordPress site. Be sure to look for any user that seems out of place and if you find one, immediately delete them.
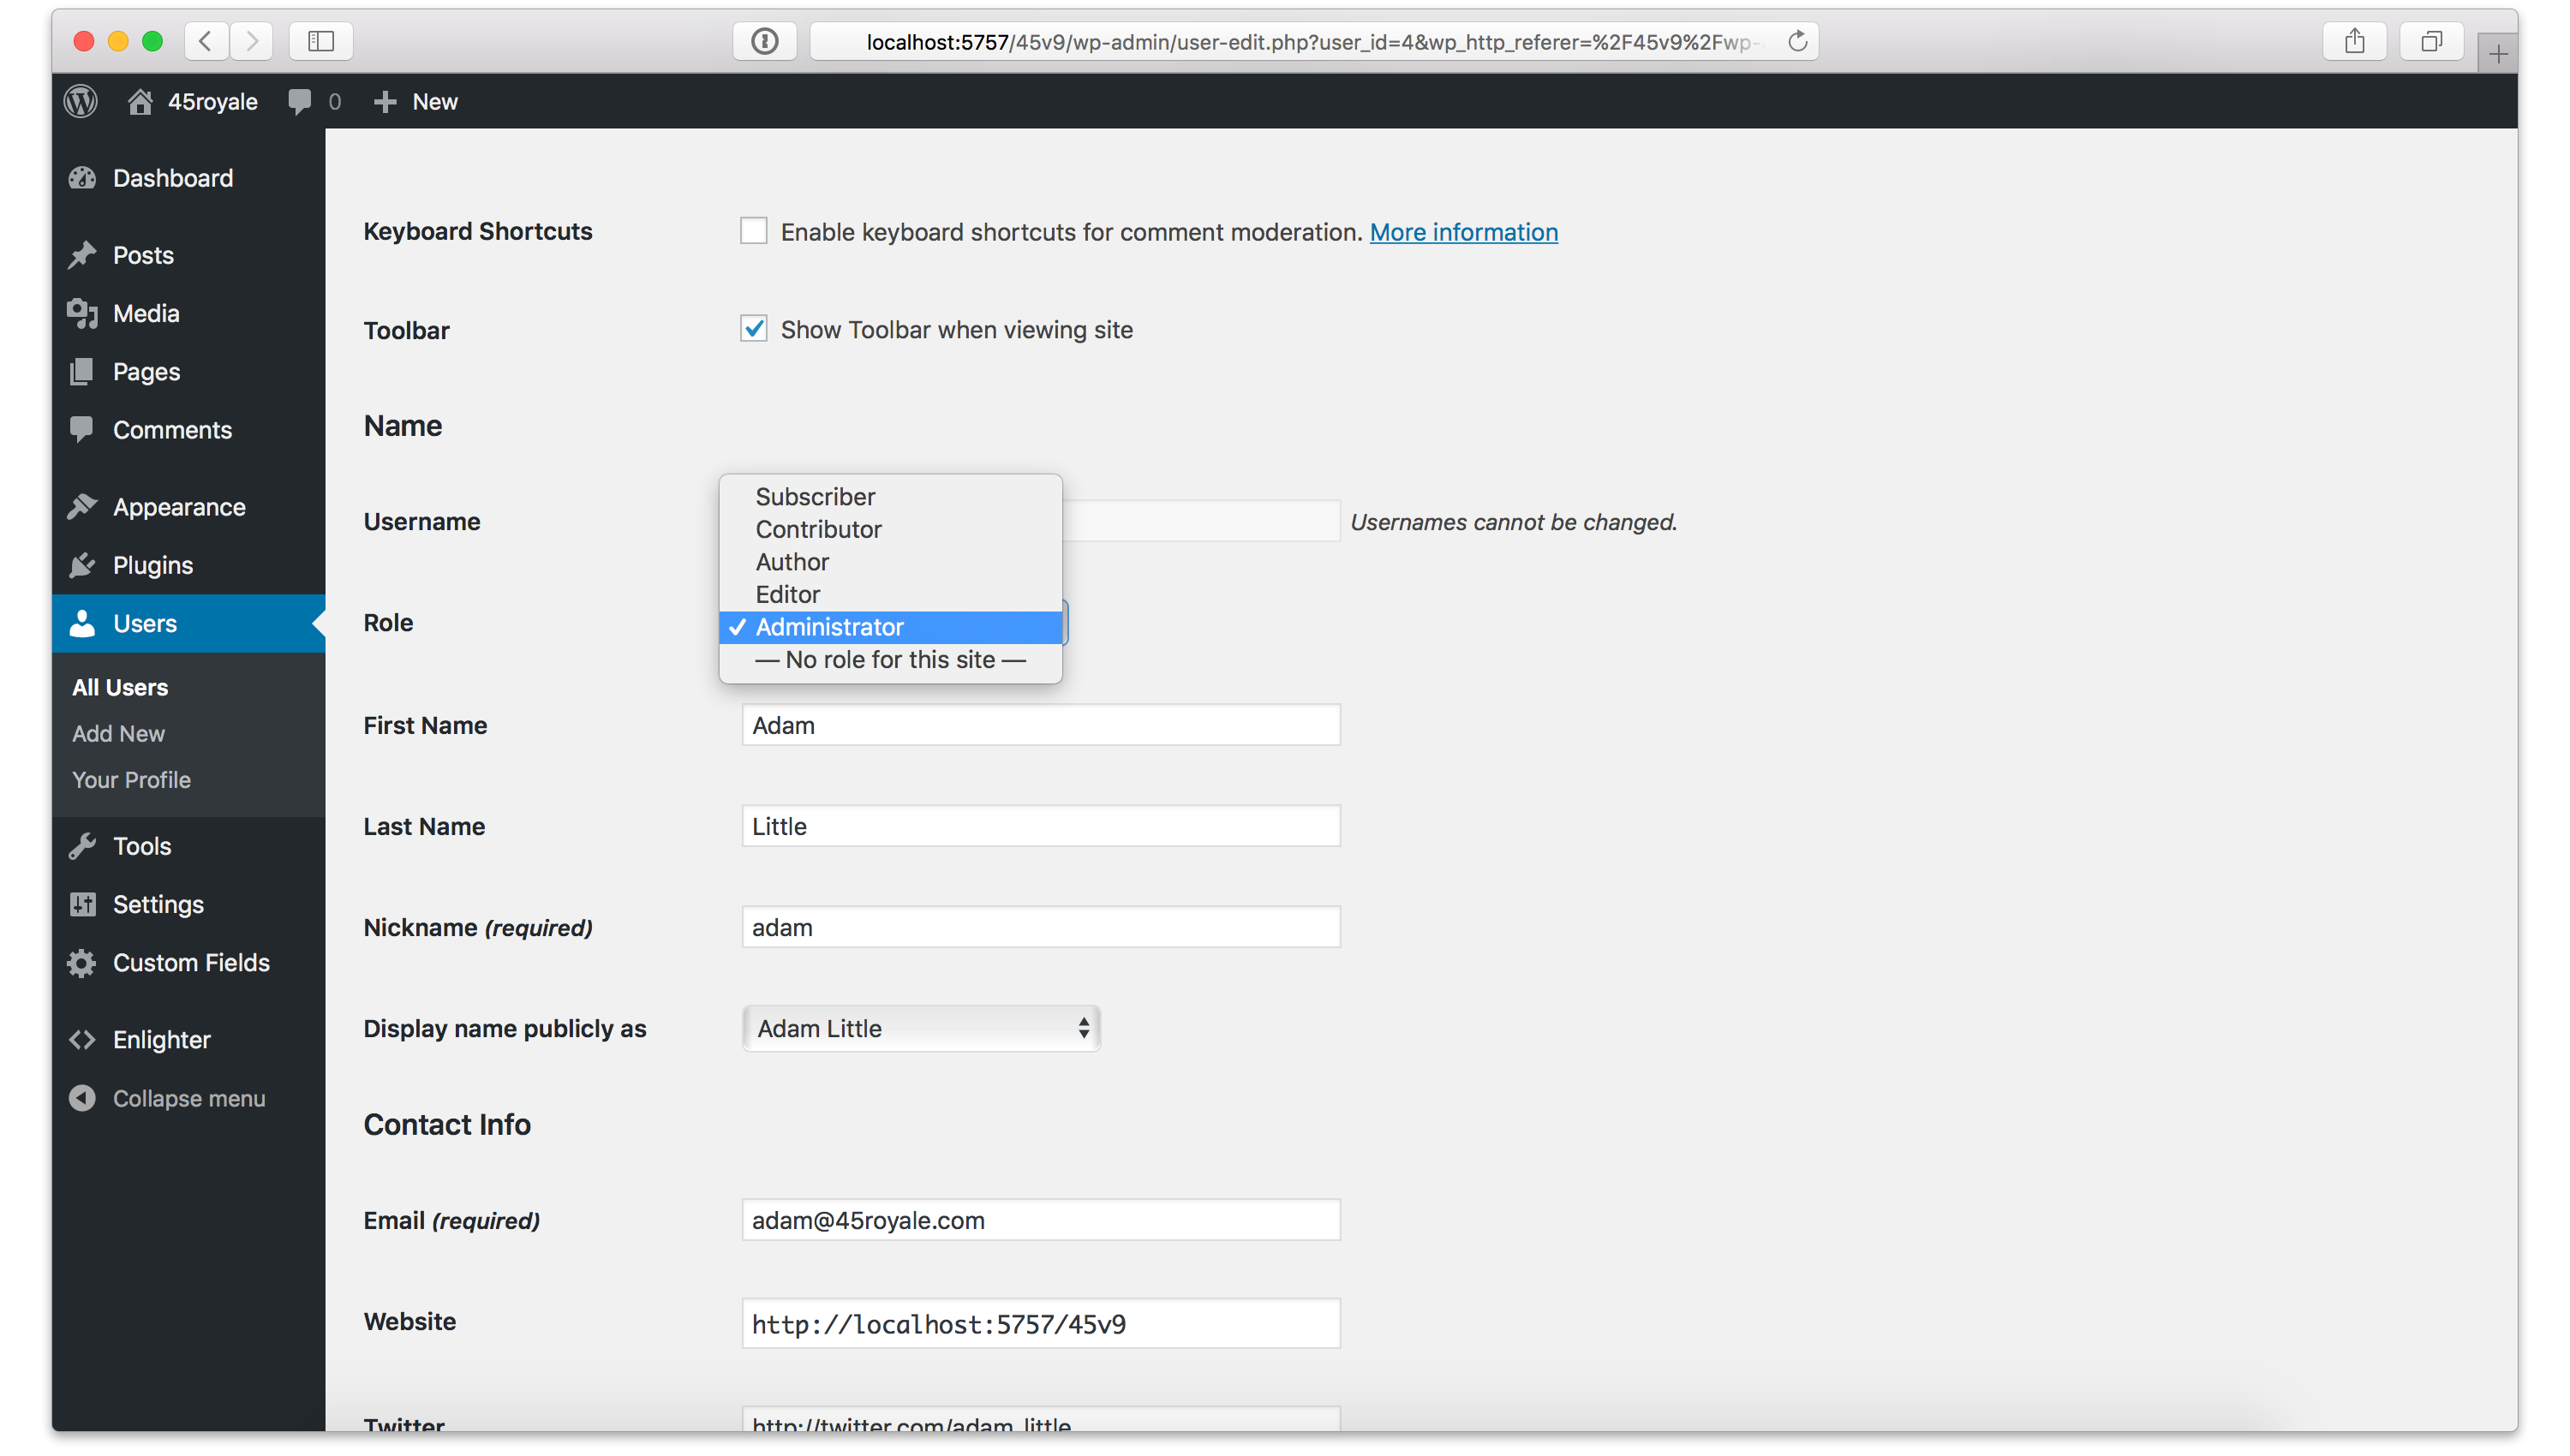
WordPress User Permissions
This is also a great time to validate everyone’s user permissions to make sure no one has access to anything they shouldn’t. You can do this by editing an individual user and making sure they’re set to the appropriate role.
Once you’ve done that, go through each user and reset their password. This might be annoying if you have a lot of users, but better to be safe than sorry.
Step 8: Take another backup of your database
You’ve made some changes, so before moving on, you’ll want to make another backup of your database. It may seem like an extra step, but trust me, it’s worth it.
Step 9: Fixing your site
Now that you’ve updated the passwords for everything, it’s time to roll up your sleeves and address the hack itself. There are a million things a hacker could’ve touched. It’s impossible to address them all, but we’ll cover the more major ones.
Delete old or unused themes
Many people have multiple themes installed for WordPress, but they’re only using one of them. Hackers can use these outdated themes to gain access to your site, so it’s a good idea to delete anything that you’re not actively using. You might also want to look in to storing your WordPress theme in Github for easy access in case of a hack and loss of data.
Plugins
Plugins are one of the great things about WordPress. But they’re also one of the easiest ways for hackers to gain access to your site. If you’re like me, you might have some plugins you were testing out and then forgot about. Take the time to go through and delete anything that isn’t critical to your site.
Next, take a look at your plugins and make sure they’re all up to date. If you find you’re using a plugin that hasn’t been updated in a long time, it might be time to delete it. Use this time to find another plugin that has regular maintenance and accomplishes the same thing.
Javascript tags added to your pages
If you noticed that there were javascript calls in your theme that you didn’t put there (see Step 1), now is the time to get rid of them. Start by checking your [php]header.php[/php] and [php]footer.php[/php] files. Work through your remaining template files to remove any reference to the rogue javascript.
Finding and replacing content in your backup .sql file
Sometimes a hacker adds the same content throughout your website. Whether it’s a specific text link or javascript reference, do a Find and Replace in your [html].sql[/html] file to remove all the junk data. Once you’ve removed all the junk data you can save your [html].sql[/html] file and re-import it into your database.
Sometimes there isn’t a string of common text that you can easily find and replace. Unfortunately in those cases you might have to manually edit each page within WordPress. Find the offending text, delete it, and then update the page or post. This is the worst case scenario, but as time consuming as it is, sometimes it’s the only way to be sure you’ve removed everything.
.htaccess problems
If you find that your site is being redirected, chances are your [html].htaccess[/html] file has been compromised. To resolve this, delete the file and it should regenerate itself.
If it doesn’t, log into WordPress then go to [html]Tools > Settings > Permalinks[/html] and save changes. This will regenerate the file and everything will return to normal.
Step 10: Make sure WordPress is up to date
Now that you’ve cleaned up your site, make sure to backup everything and triple check that you’re using the latest version of WordPress.
Configuring automatic updates can help keep you current, but that’s not always an option for people with customized sites. If you can’t configure automatic updates, try to setup a schedule where you check for WordPress and plugin updates regularly. This will help keep your site updated with the latest and greatest and lessen the chance of an attack.
Step 11: Install a WordPress security plugin
You may have thought you cleaned everything back in Step 8, but there is still a chance you missed a few things. To make sure you’re covering all your bases and you’re secure going forward, I recommend installing a WordPress security plugin.
There are a bunch of providers out there, but WordFence and Sucri are the most popular. Services like this can analyze your site, spot vulnerabilities, and help clean the infected areas automatically.
Once you’ve got everything in place, be sure to setup automatic backups of your site via a plugin or through your hosting provider. If you’re ever hacked again it will be easy for you to restore to a recent backup and get up and running in no time.
Congratulations, you did it!
While it’s never fun to have your website hacked you can take comfort in the fact that it happens to everyone eventually. Just look at it as an opportunity to do some housekeeping that you’ve been putting off. Who knows, you may even be able to sell your client on upgrades that will make their WordPress site more secure in the future. Best of luck!

0 Comments